Inside Look: Rabbit Hutch Build
This is an excerpt from James as he was speaking by the rabbit hutch at Strand Farm on the evening of 05/23/2023. Currently, James is at the part of his project where he usually gets stuck in contemplation. Contemplation between ideality and reality of building a rabbit hutch from wedge split raw oak and maple. It is getting late and James is in the process of fitting the last couple cross-beams at the floor of the rabbit cages. Let's take a listen.
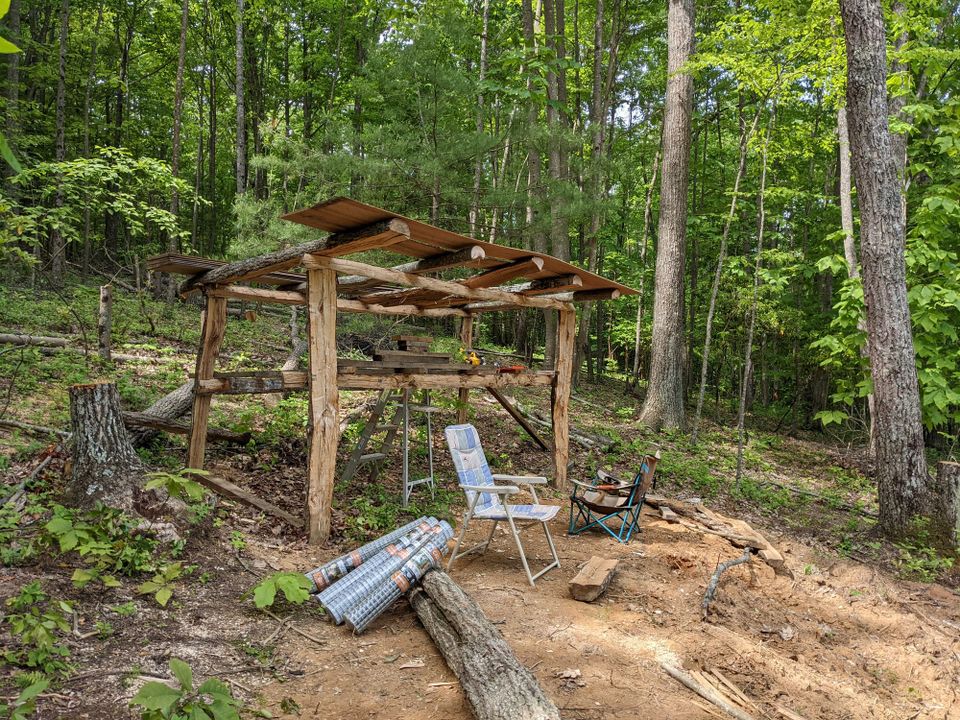
This tends to be one of the more difficult parts of a build using raw materials. I've got the main structure of the frame completed. I know it's not perfect but when I start designing the cages, which are perfect, the flaws of the build will shine. Squared off hardware cloth tells me how inaccurate my lines are. So, here I am at at this place. It's the place where two world's meet. The measured world with the the unmeasured world. That's the part where I'm at in this project and that's the part that's giving me a headache. Let's digress.
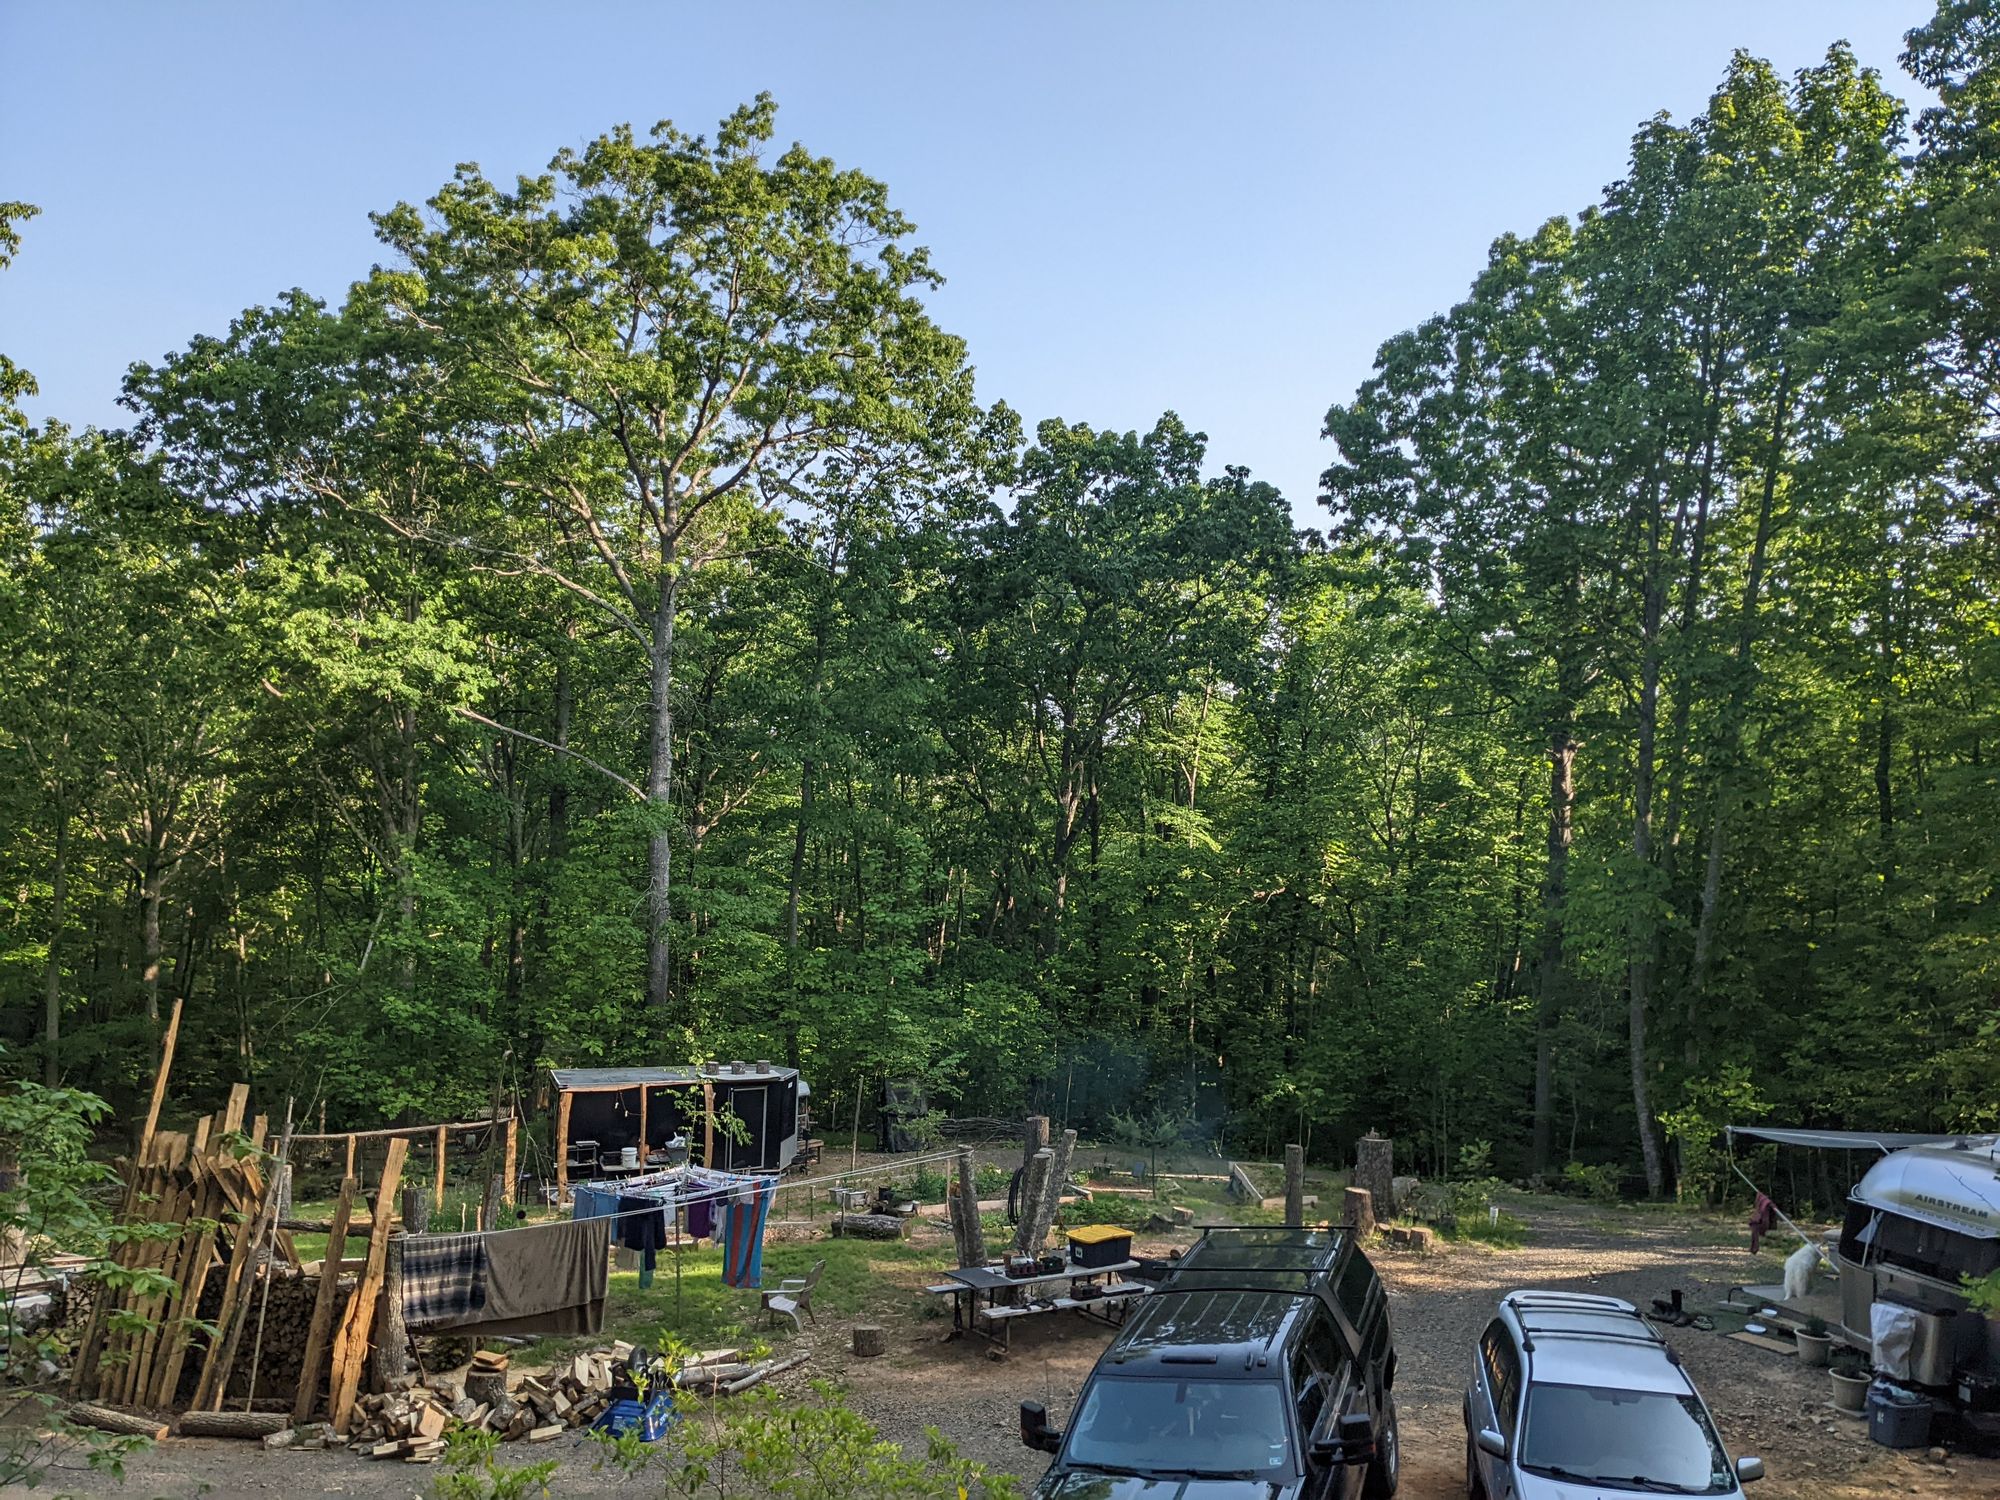
I laid down on the roof of this rabbit hutch last night. I laid up there before I had the shingles on, when it was just the roof frame. I looked over Strand Farm from stadium-like seating and it was just the most beautiful sight. Down and to the left, the woodshed. Wedge-split lumber set up in an A-frame drying position amongst rows of maturing split wood. Next to that, the clothes line hung with our bedding and pillows ready to be brought inside. Behind and further down the upper island, Tomateallis Trench 2.0 (our two tomato beds). Then rows of potatoes, peas, peppers, wheat and beans. To the right, sits the rest of our garden and fruit trees. Our Airstream, with smoke coming out of it's chimney, sits behind all of it. The stars and bats will soon be up above the scene. This place is music to my ears. The view of the homestead from the rabbit hutch is on point. I think Star, Sun and Sky will love their new quarters.
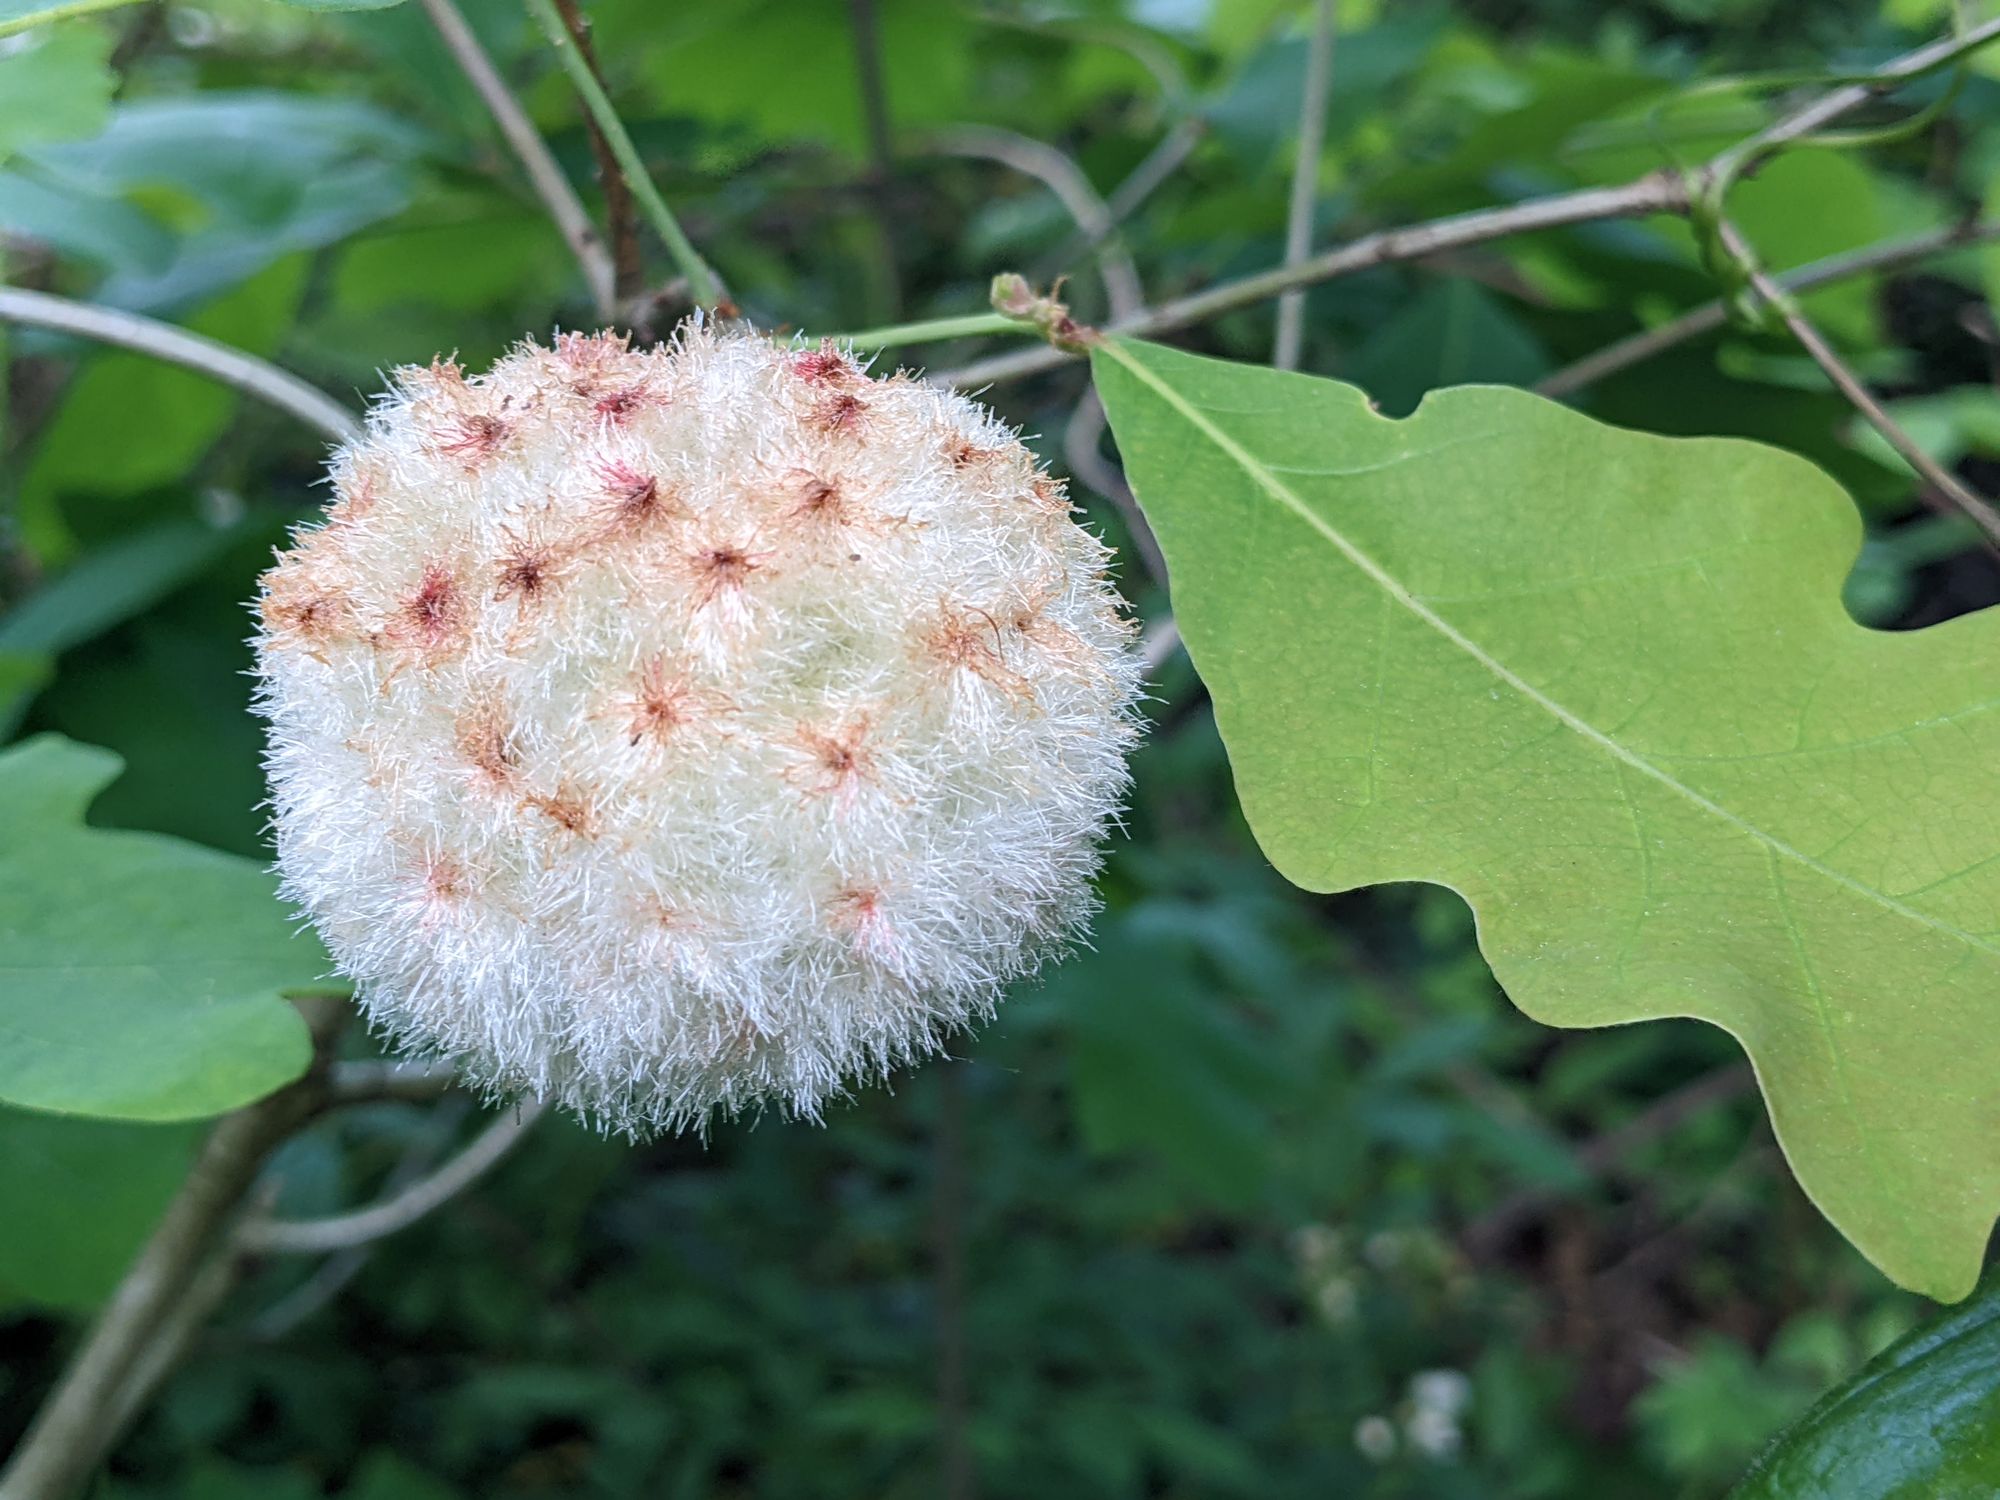
It's time for a break to do evening chores. It's getting chilly as the sun sets so I put on a jacket in time for our family evening walk. We found the most peculiar, bulbous, fluffy, hite, orb type thing attached to a white oak stem nearby the road. Take a look at this picture. I've never seen anything like it before!
Alrighty, we're back. It's important this rabbit hutch is durable and easy to take apart. For example, I designed this hutch such that the whole bottom of the cage is one piece that can roll up and be removed. The cross beams under the floor are removable too. They are inlaid into the main frame and will be held down by the walls once they are designed and in place.
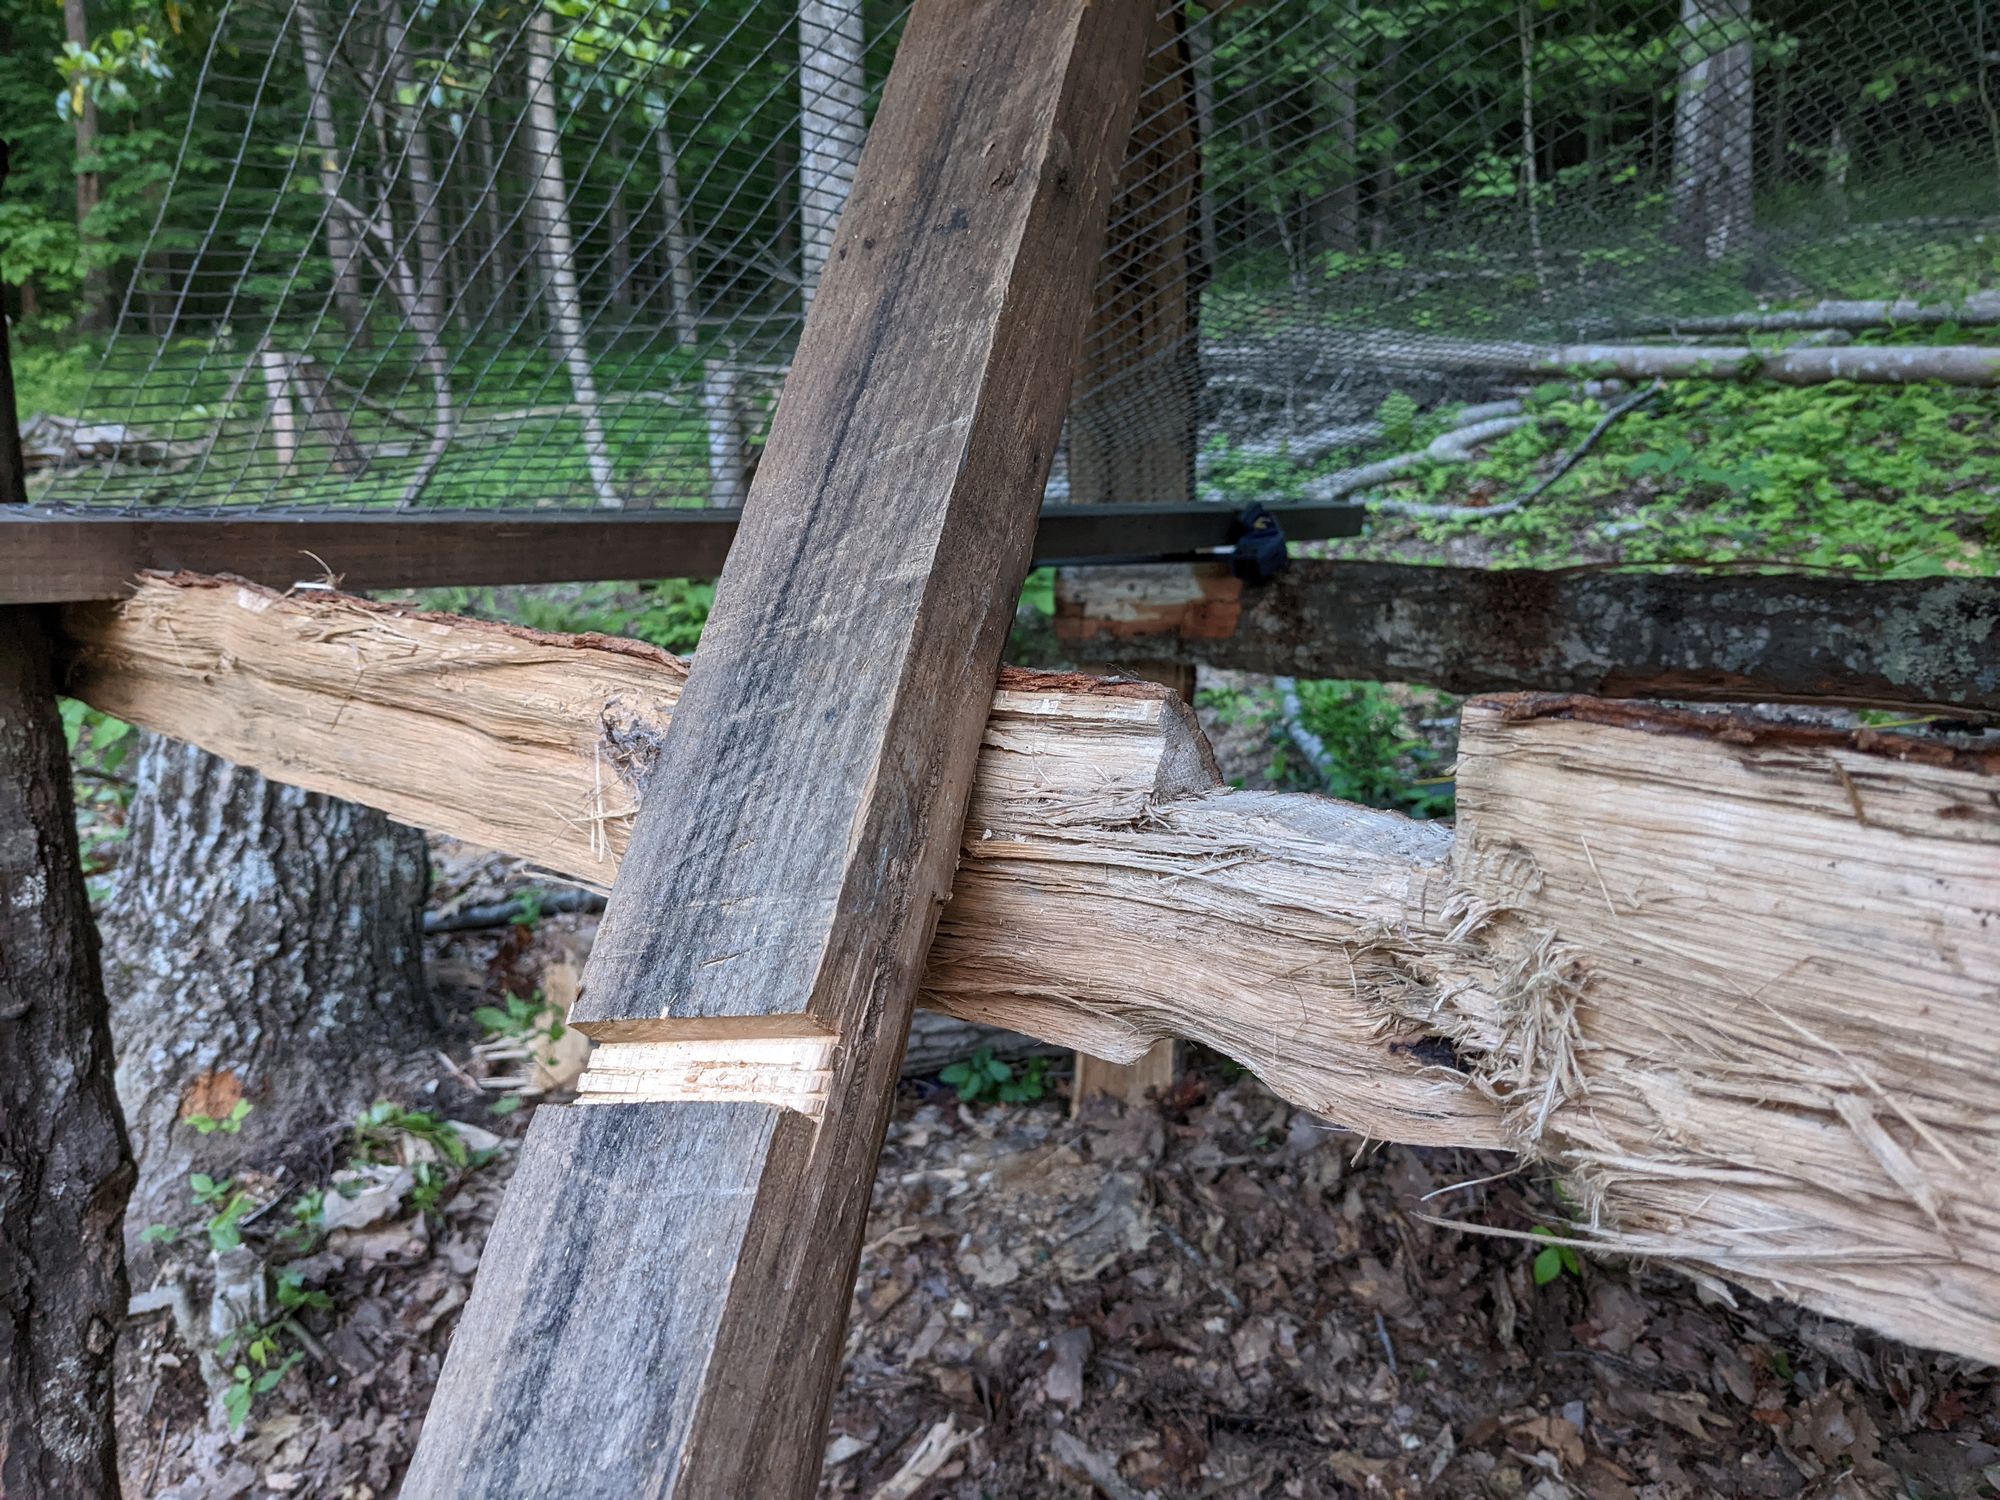
I've cut into my last cross beam and now have the base of the floor level with the main frame of the rabbit hutch. I'm using a DeWalt cordless chainsaw and a thrifted hand saw to make these cuts. I'll then use my camp axe to break out the pieces but it will have to wait until tomorrow when there's day light. It is time to put my tools away until then.
We hope you have enjoyed this Inside Look at building our very first rabbit hutch. Thanks for reading!